Printable Bat Craft
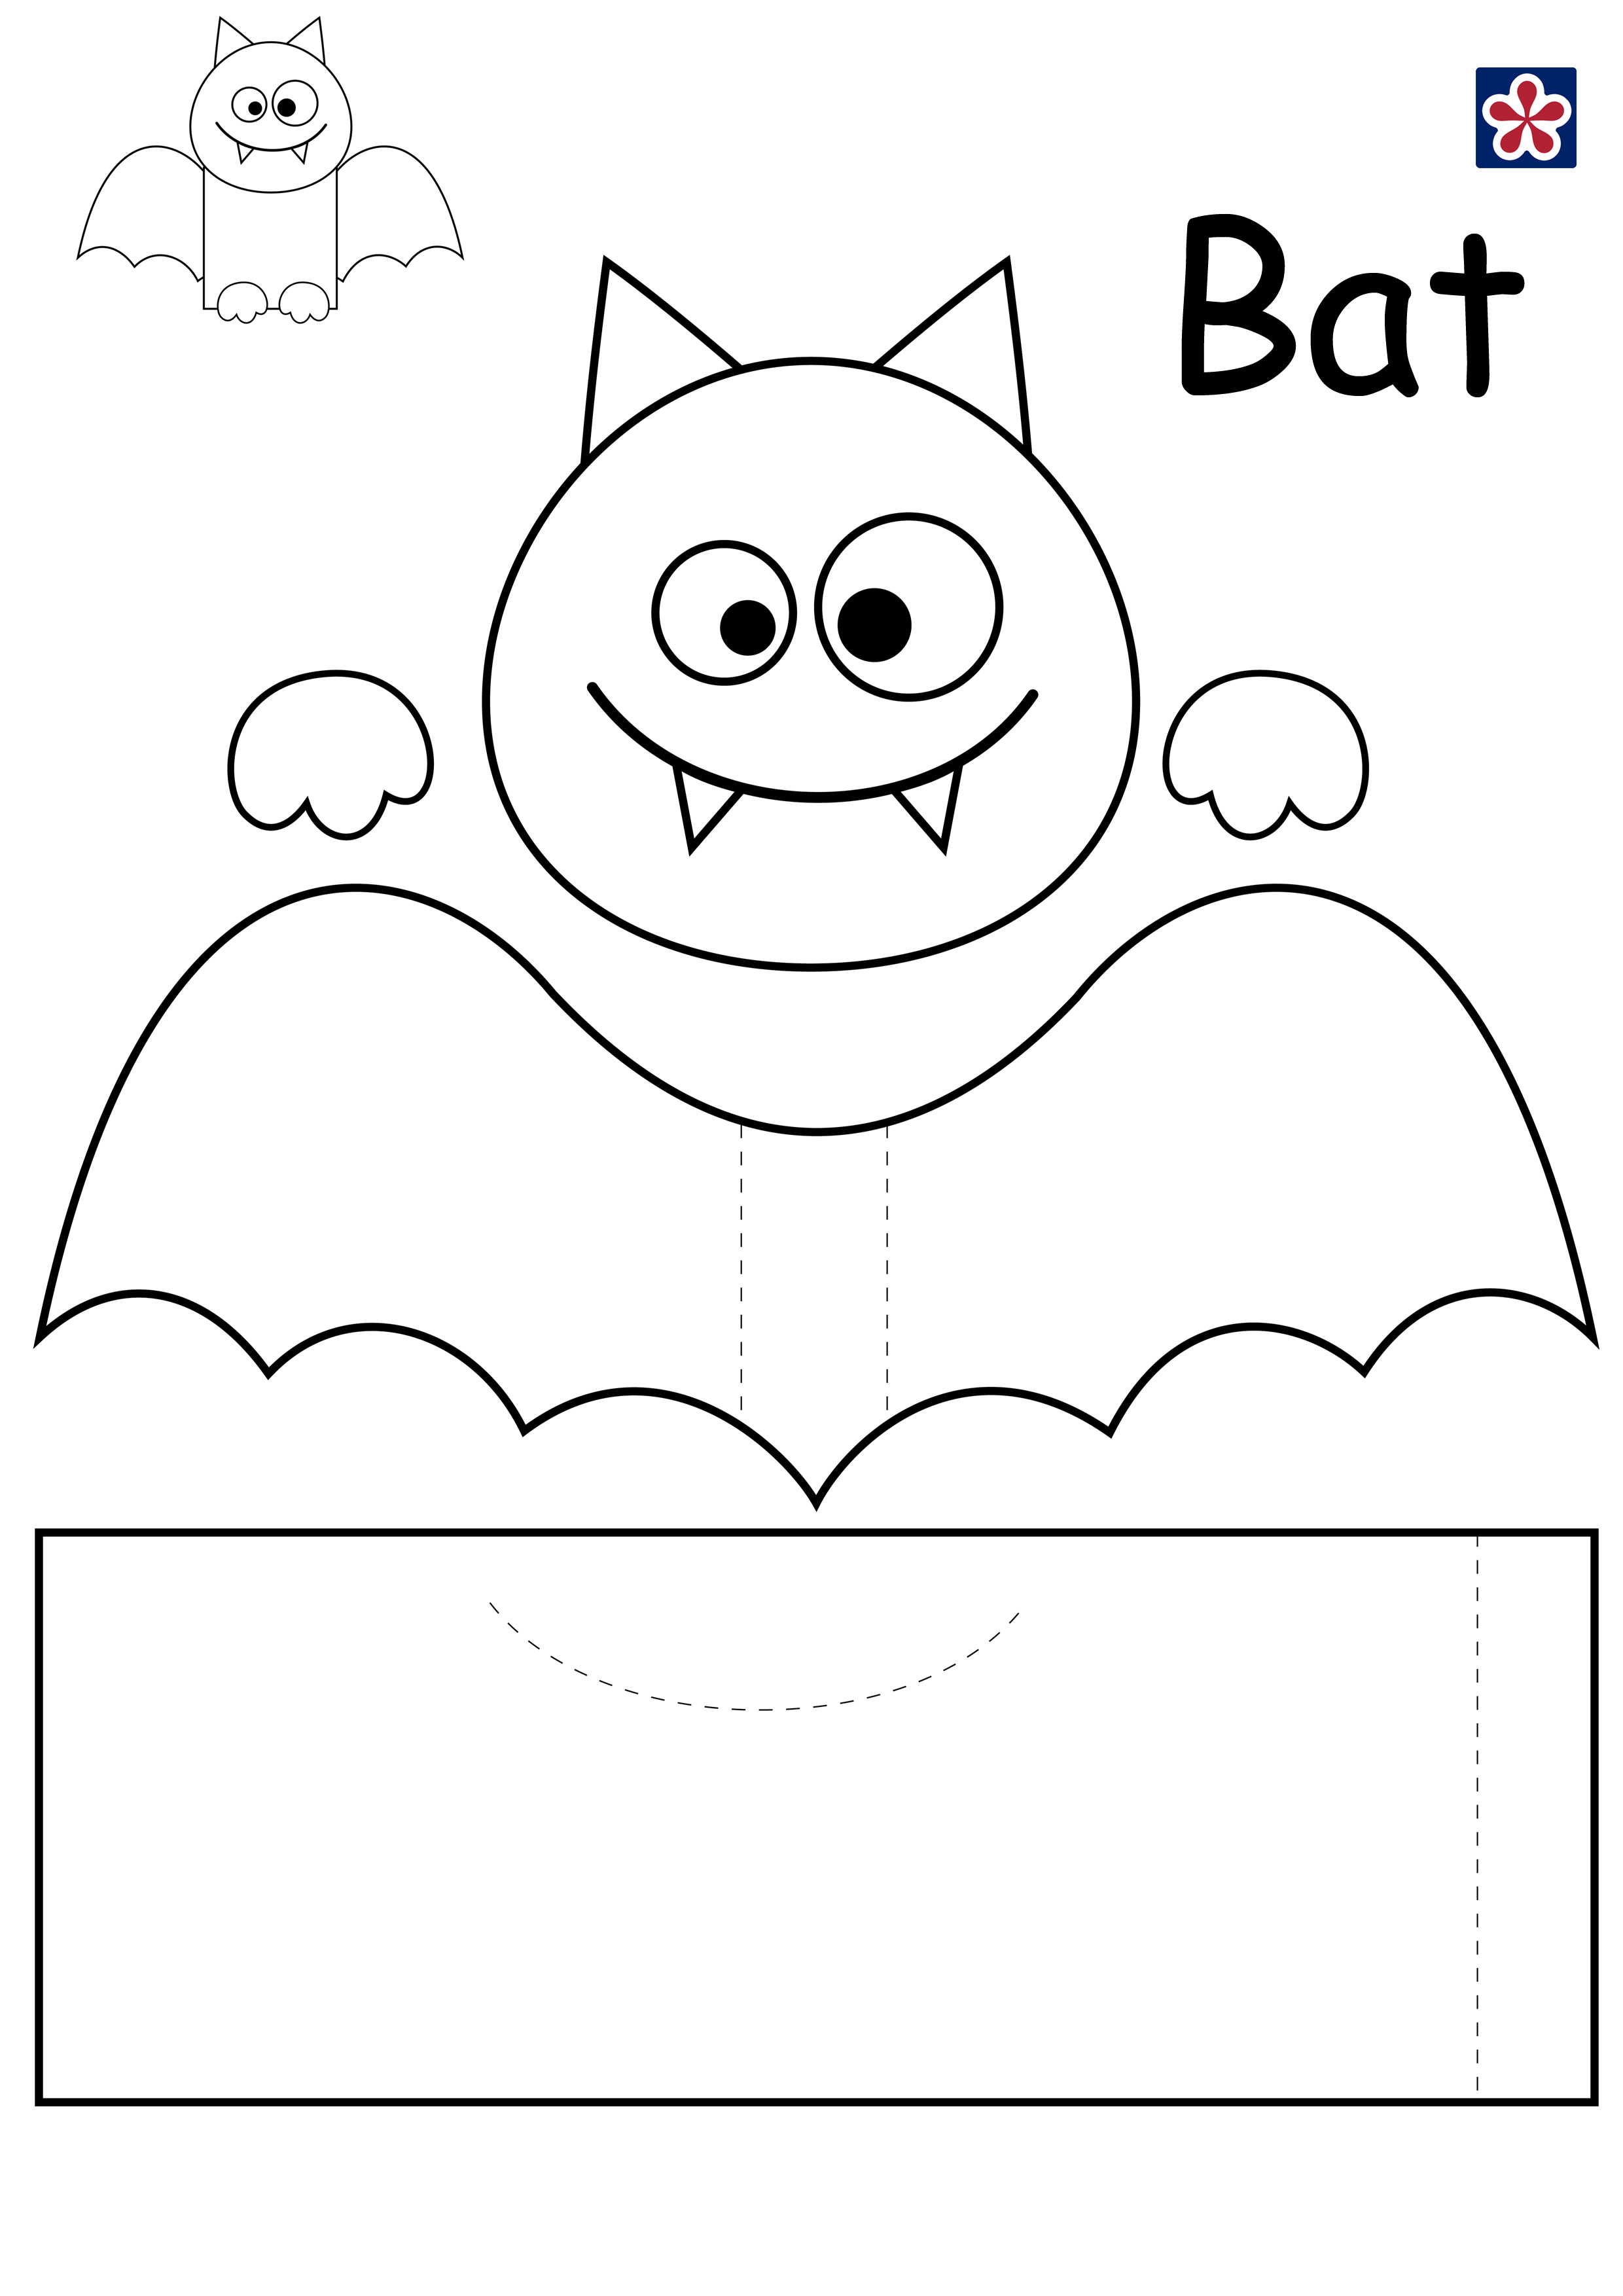
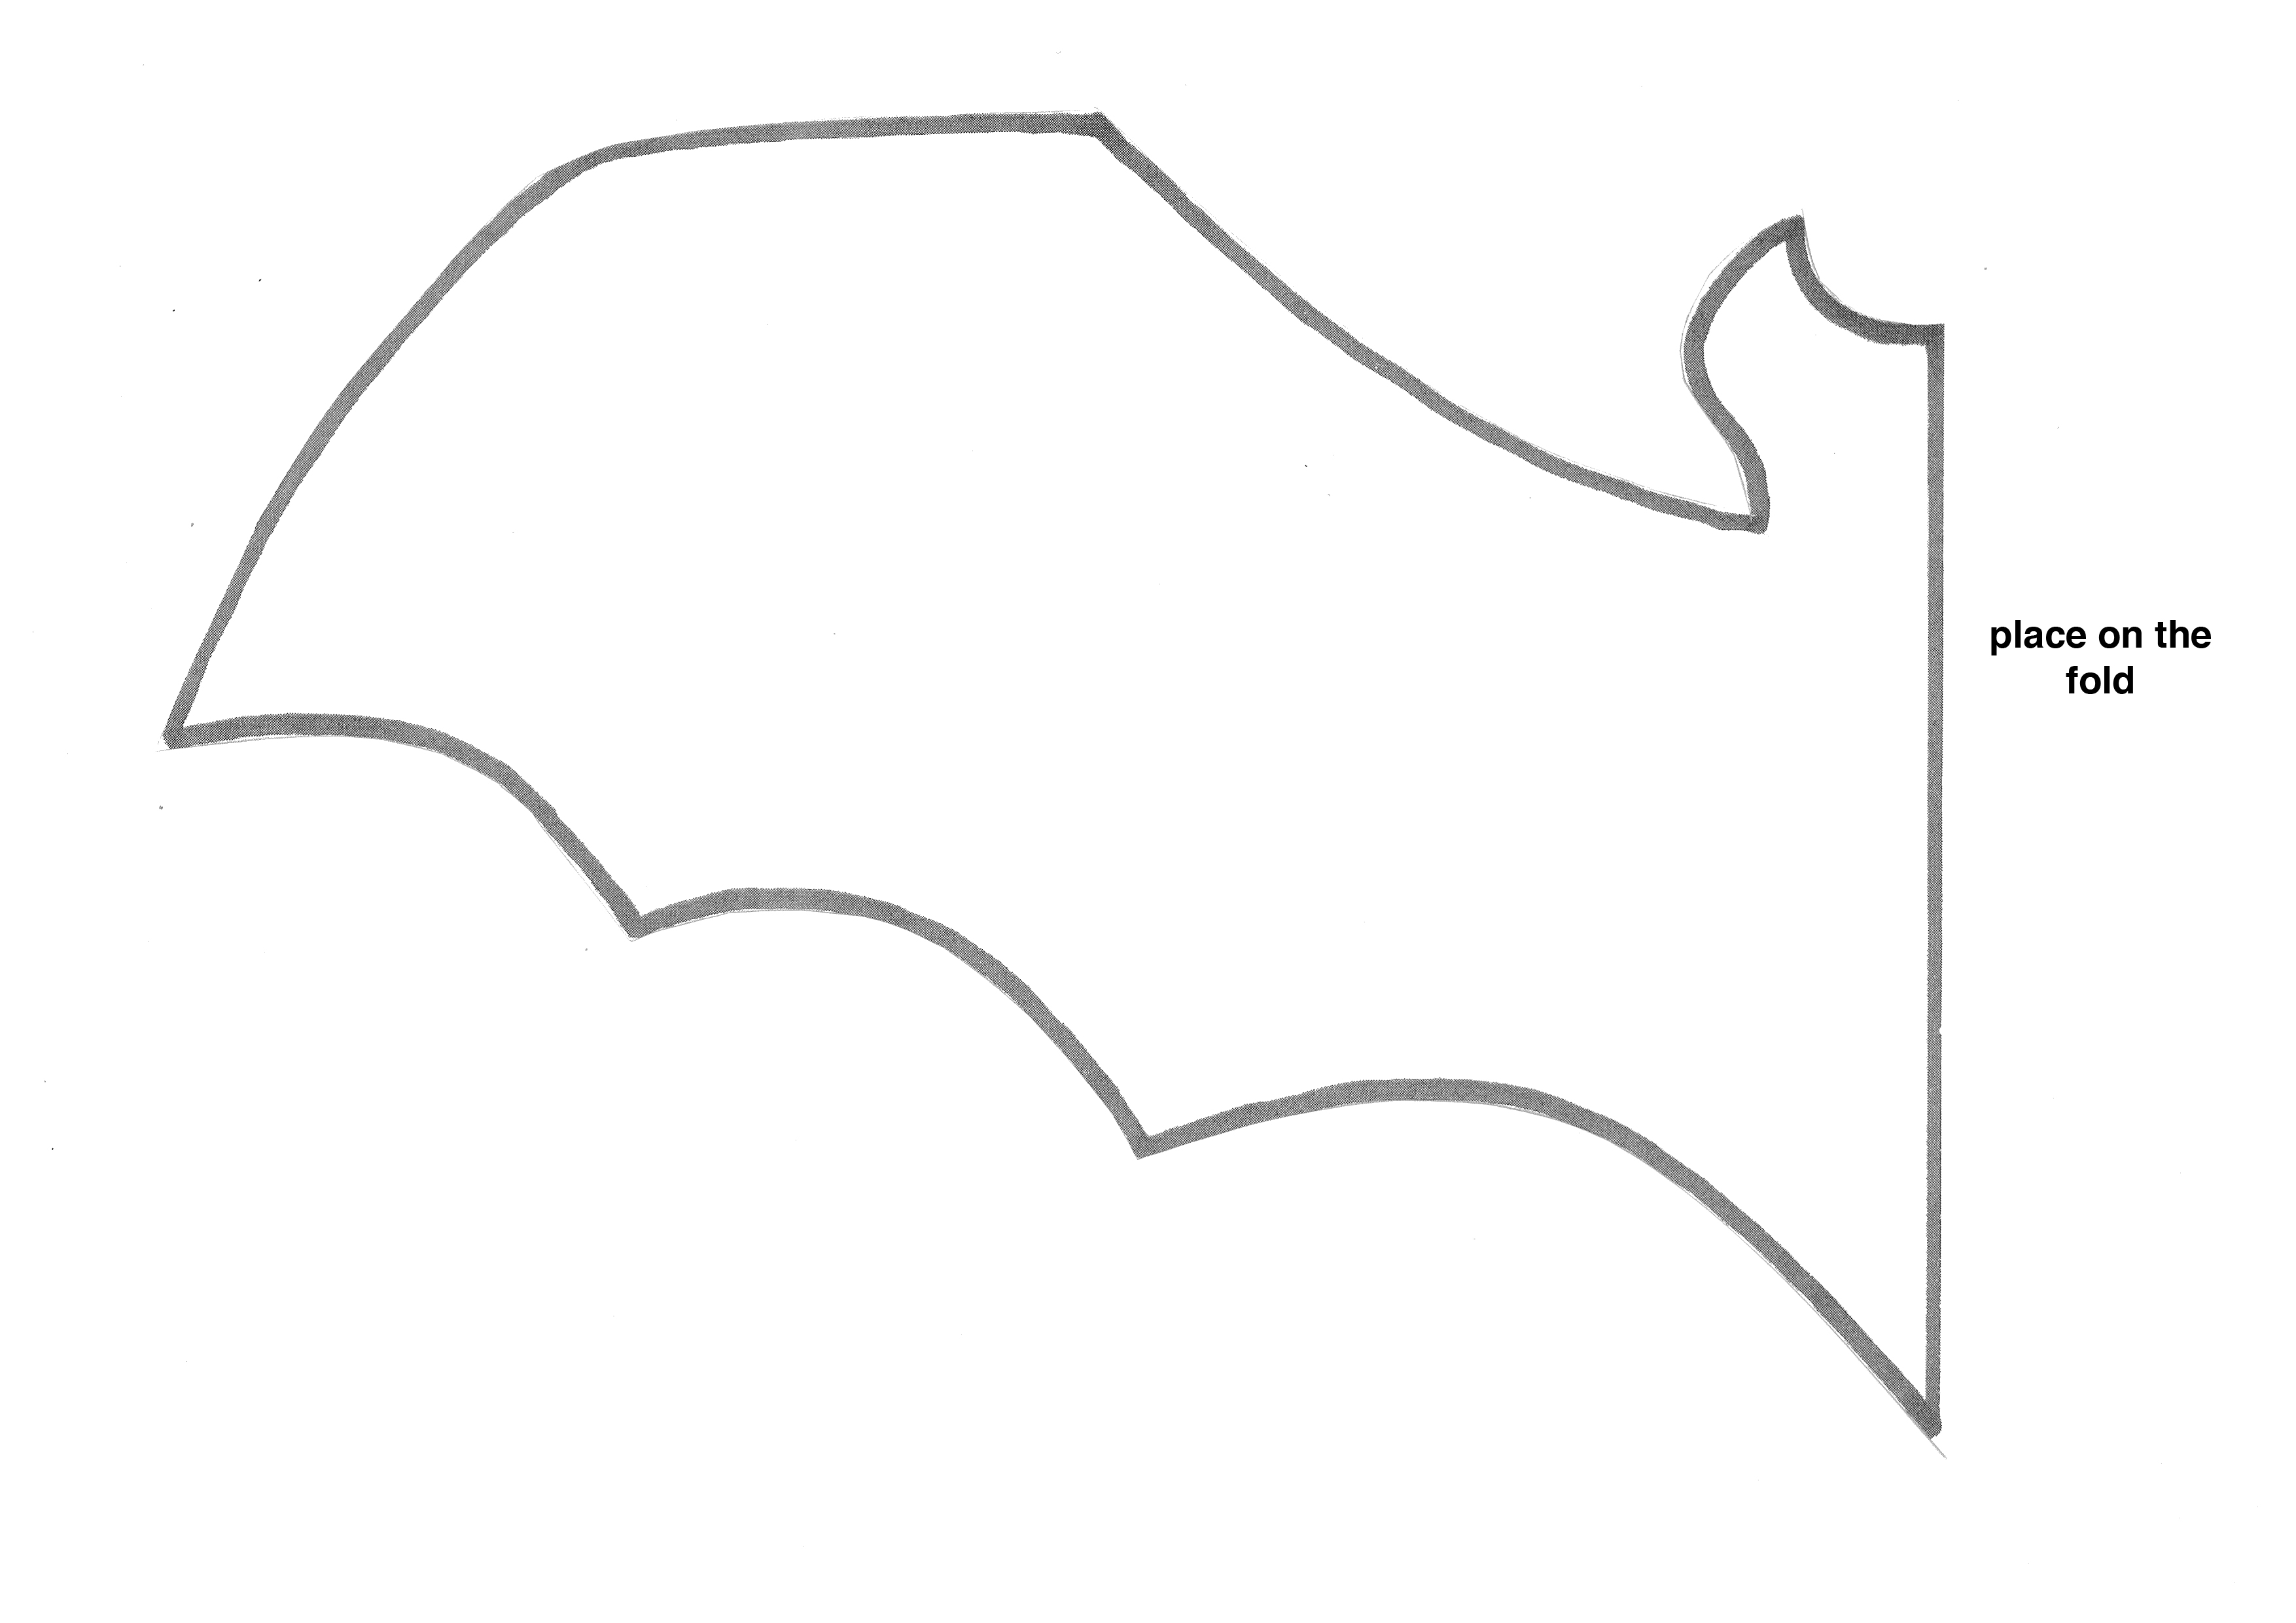
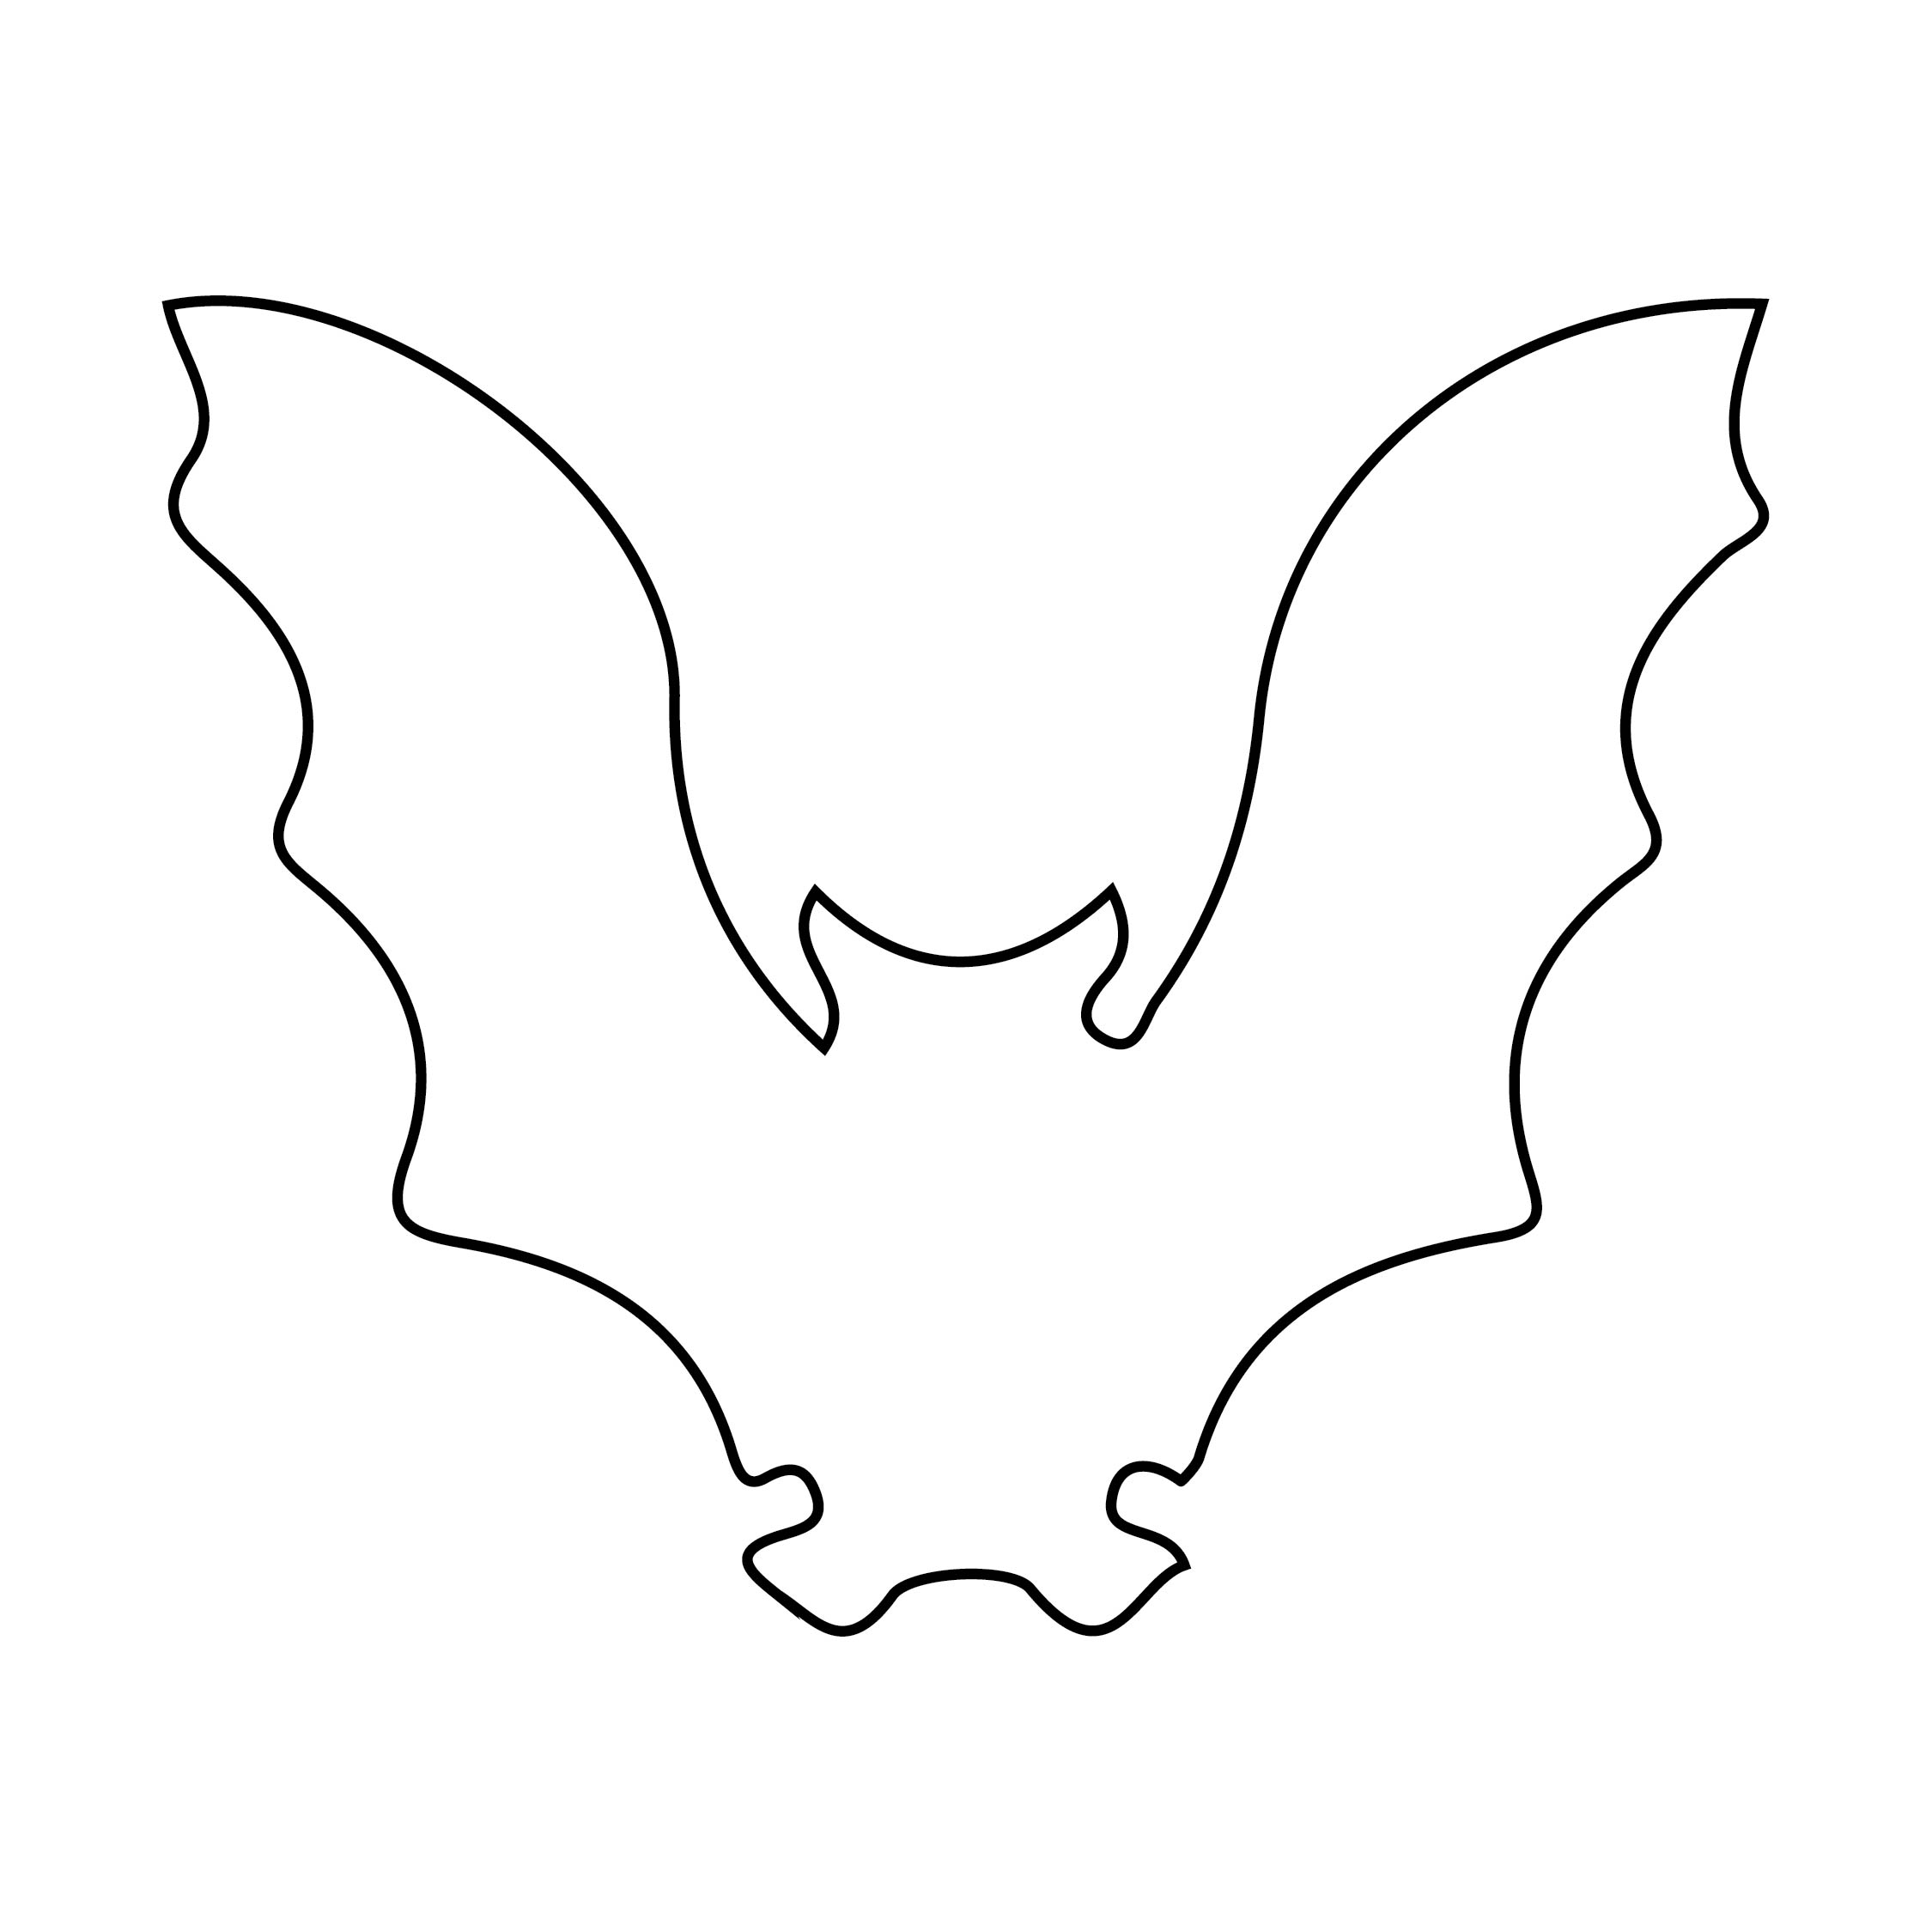
Printable bat craft - The first bat “craftivity” (see what i did there?) in this list of bat crafts is this simple paper bat. Our printable bat outlines are great for halloween window displays, craft projects, applique templates, and more! Fold down the 1 cm part over the top of the other end and glue them together, as shown in the image below. Trace the template patterns on the selected colored craft papers and cut them out nicely using a pair of scissors. Print the large bat template printable large bat printable template this large bat stencil has a bit more of a creepy vibe. Then we’ve got you covered! After cutting, glue them to a string with some tape and hang them on the wall or from the. Print out the free printable bat stick puppet templates available toward the end of this post. With smaller details to work around, this bat template is. Next, fold up 2 inches of the paper from one of the open ends.
Start by printing the template below. After the paint dries, glue the eyes on the paper plate. Halloween hanging craft download link (at bottom of the post) paper scissors glue ruler something to help score lines. Download and print out the bat templates you like on 8.5″x11″ printer paper. Instructions for the bat stick puppets bat craft step one:

bat template for halloween crafts Preschool Crafts
Print the large bat template printable large bat printable template this large bat stencil has a bit more of a creepy vibe. How to make an easy paper bat for halloween. Trace the template patterns on the selected colored craft papers and cut them out nicely using a pair of scissors.
Bat Worksheets
Instructions for the bat stick puppets bat craft step one: Here’s some fun facts to share with your kids about bats from the u.s. Check out our printable bat craft selection for the very best in unique or custom, handmade pieces from our prints shops.
15 Best Halloween Bat Stencil Cutouts Printable
You mostly need black construction paper, googly eyes, a pair of scissors, a pencil. Looking for a bat outline for your next craft project or activity? How to make an easy paper bat for halloween.
Bat Printable Template Printable Word Searches
After the paint dries, glue the eyes on the paper plate. Download, print, and cut out the bat template available at the end of this post. Cut out the bats carefully cut out the bats on the template.
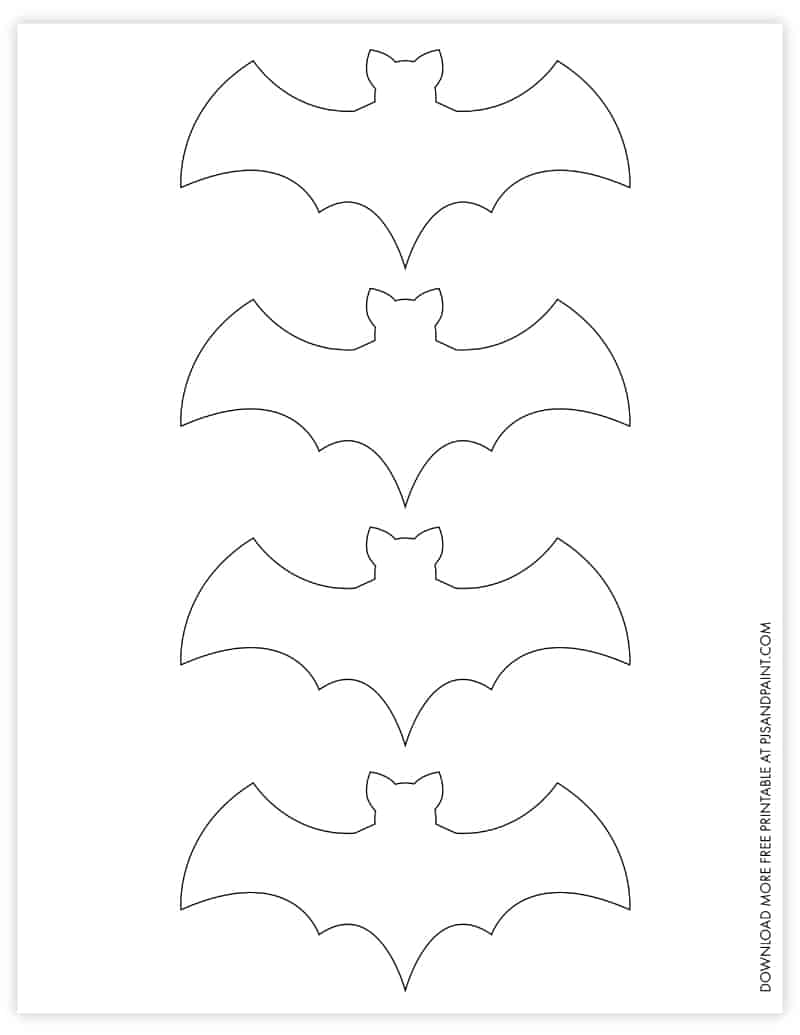
Free Printable Bat Template DIY Halloween Decorations Pjs and Paint
Attach the paper bats to small branches and place in a vase for easy decor. The first bat “craftivity” (see what i did there?) in this list of bat crafts is this simple paper bat. Check out our printable bat craft selection for the very best in unique or custom, handmade pieces from our prints shops.
Bat Craft Template Printable Printable Word Searches
After the paint dries, glue the eyes on the paper plate. With smaller details to work around, this bat template is. Halloween hanging craft download link (at bottom of the post) paper scissors glue ruler something to help score lines.

Bat Template to Little Genius
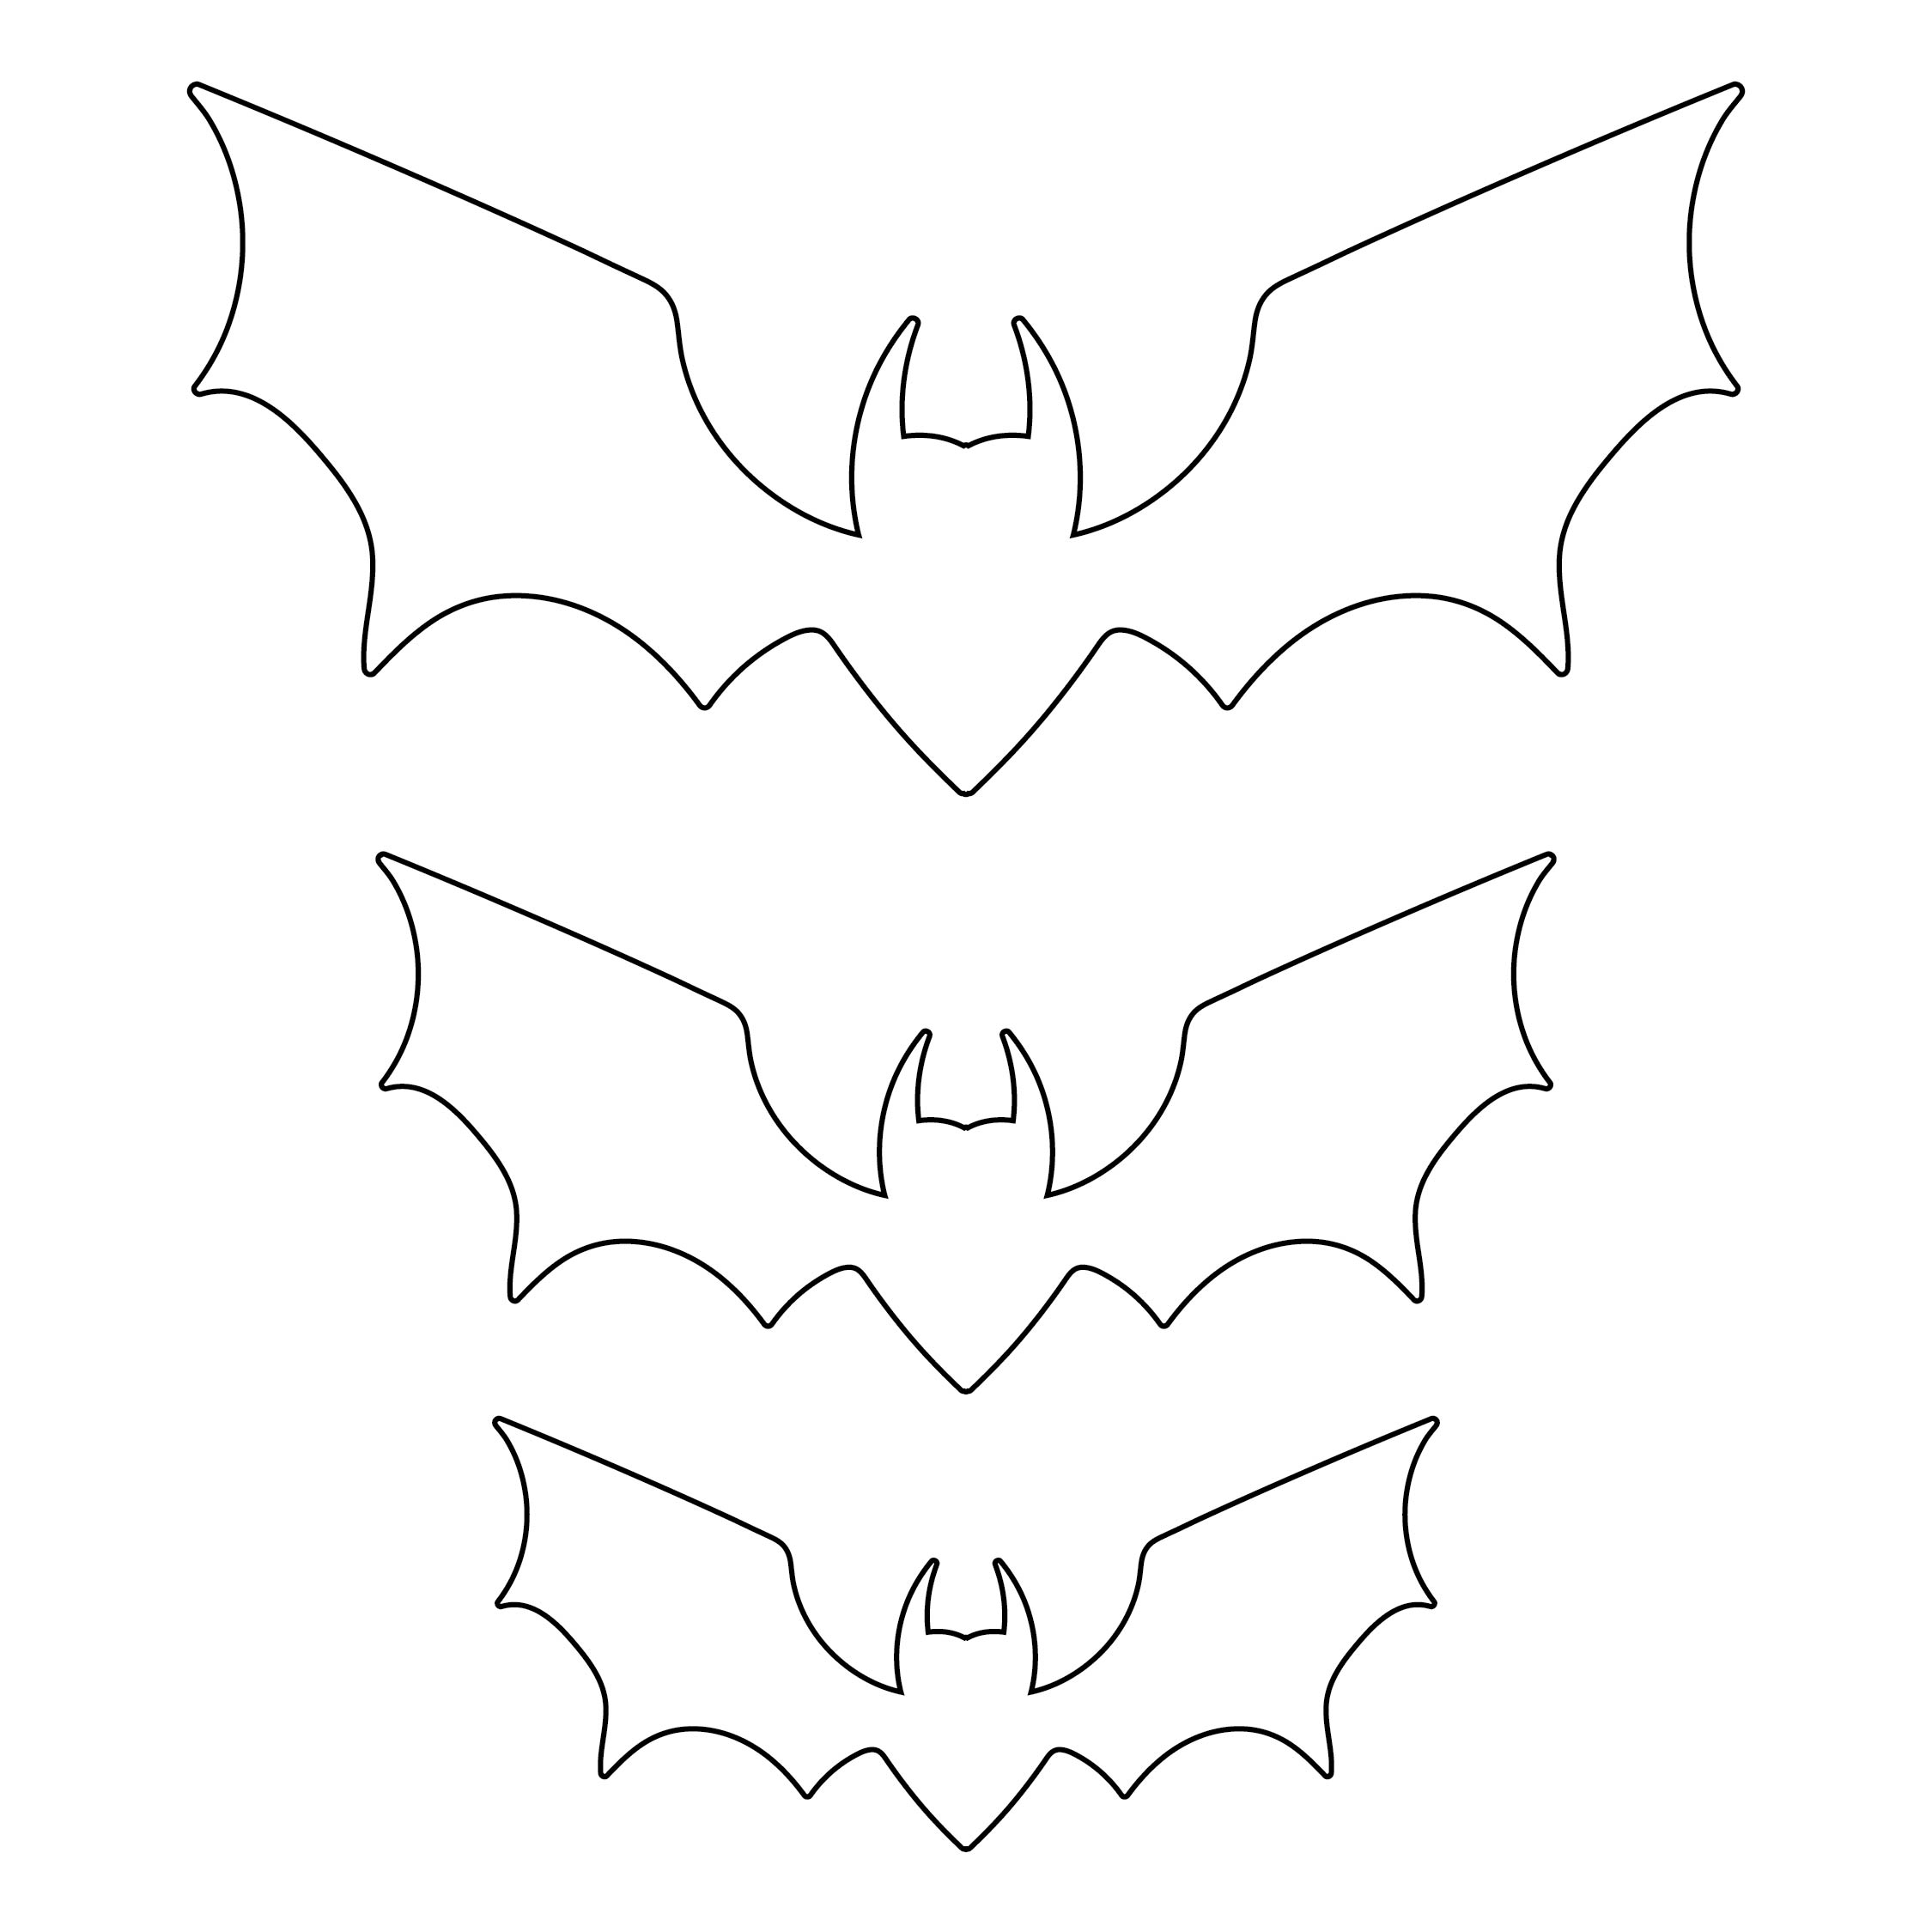
Then we’ve got you covered! Print the large bat template printable large bat printable template this large bat stencil has a bit more of a creepy vibe. Start by printing the template below.
10 Best Halloween Bat Stencils Printable
Download, print, and cut out the bat template available at the end of this post. Like a butter knife, a paper clip, or a. Looking for a bat outline for your next craft project or activity?

Bat Template Halloween templates, Halloween pumpkin templates, Halloween coloring
Draw a crescent moon and cut it out using a pencil, lightly draw a crescent moon shape on to the paper plate. How to make an easy paper bat for halloween. You can also print them on cardstock so that the bat stencils are more durable and you can reuse them for.
7 Best Images of Halloween Bat Stencils Printable Halloween Bat Stencil Cutouts Printable
The first bat “craftivity” (see what i did there?) in this list of bat crafts is this simple paper bat. Then, provide the template, scissors and glue to your child. Print the large bat template printable large bat printable template this large bat stencil has a bit more of a creepy vibe.
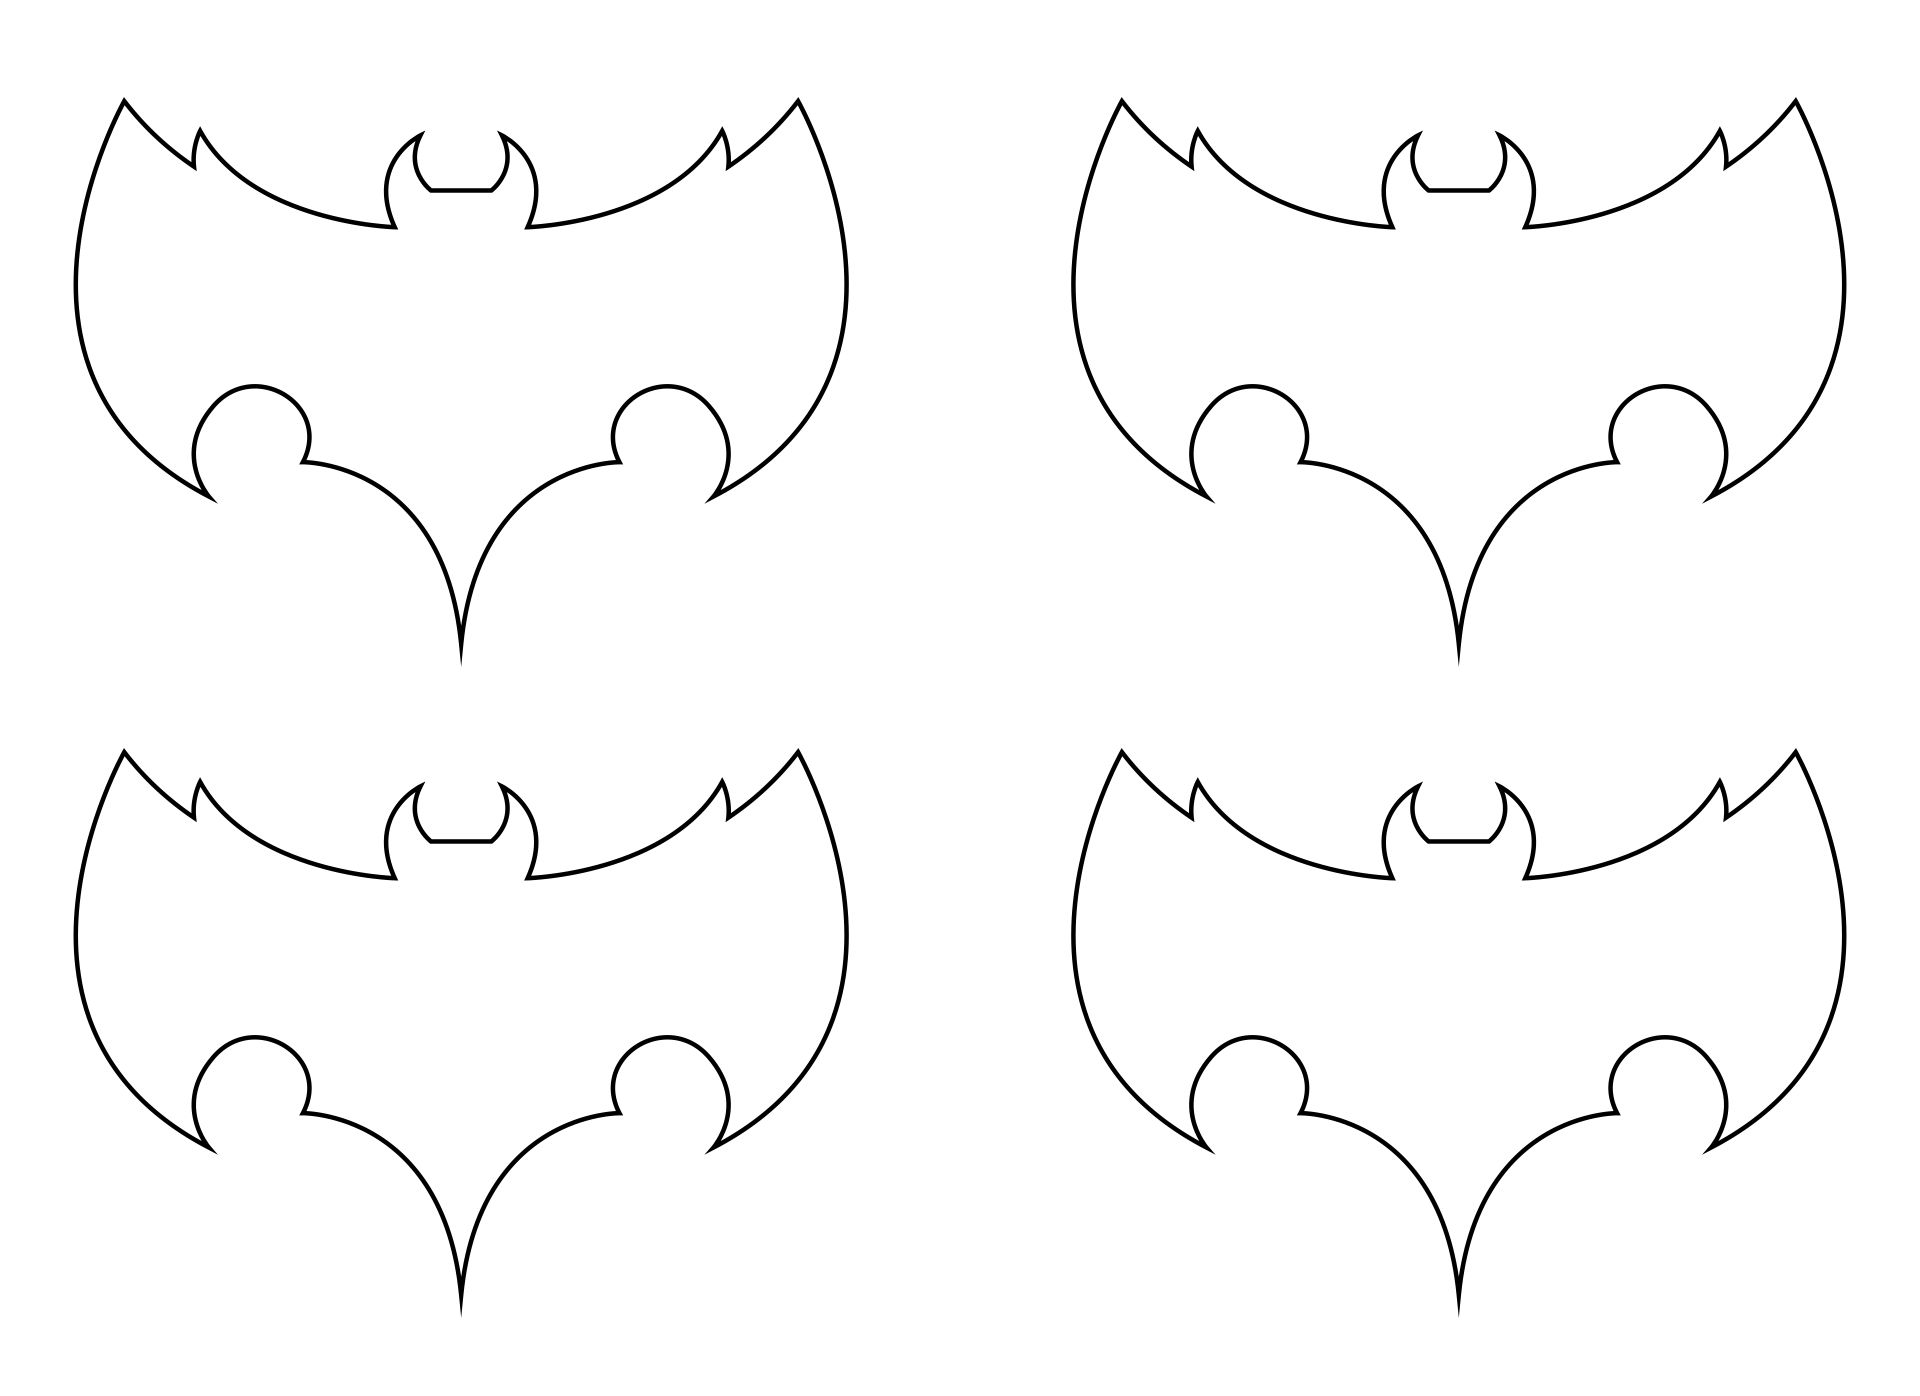
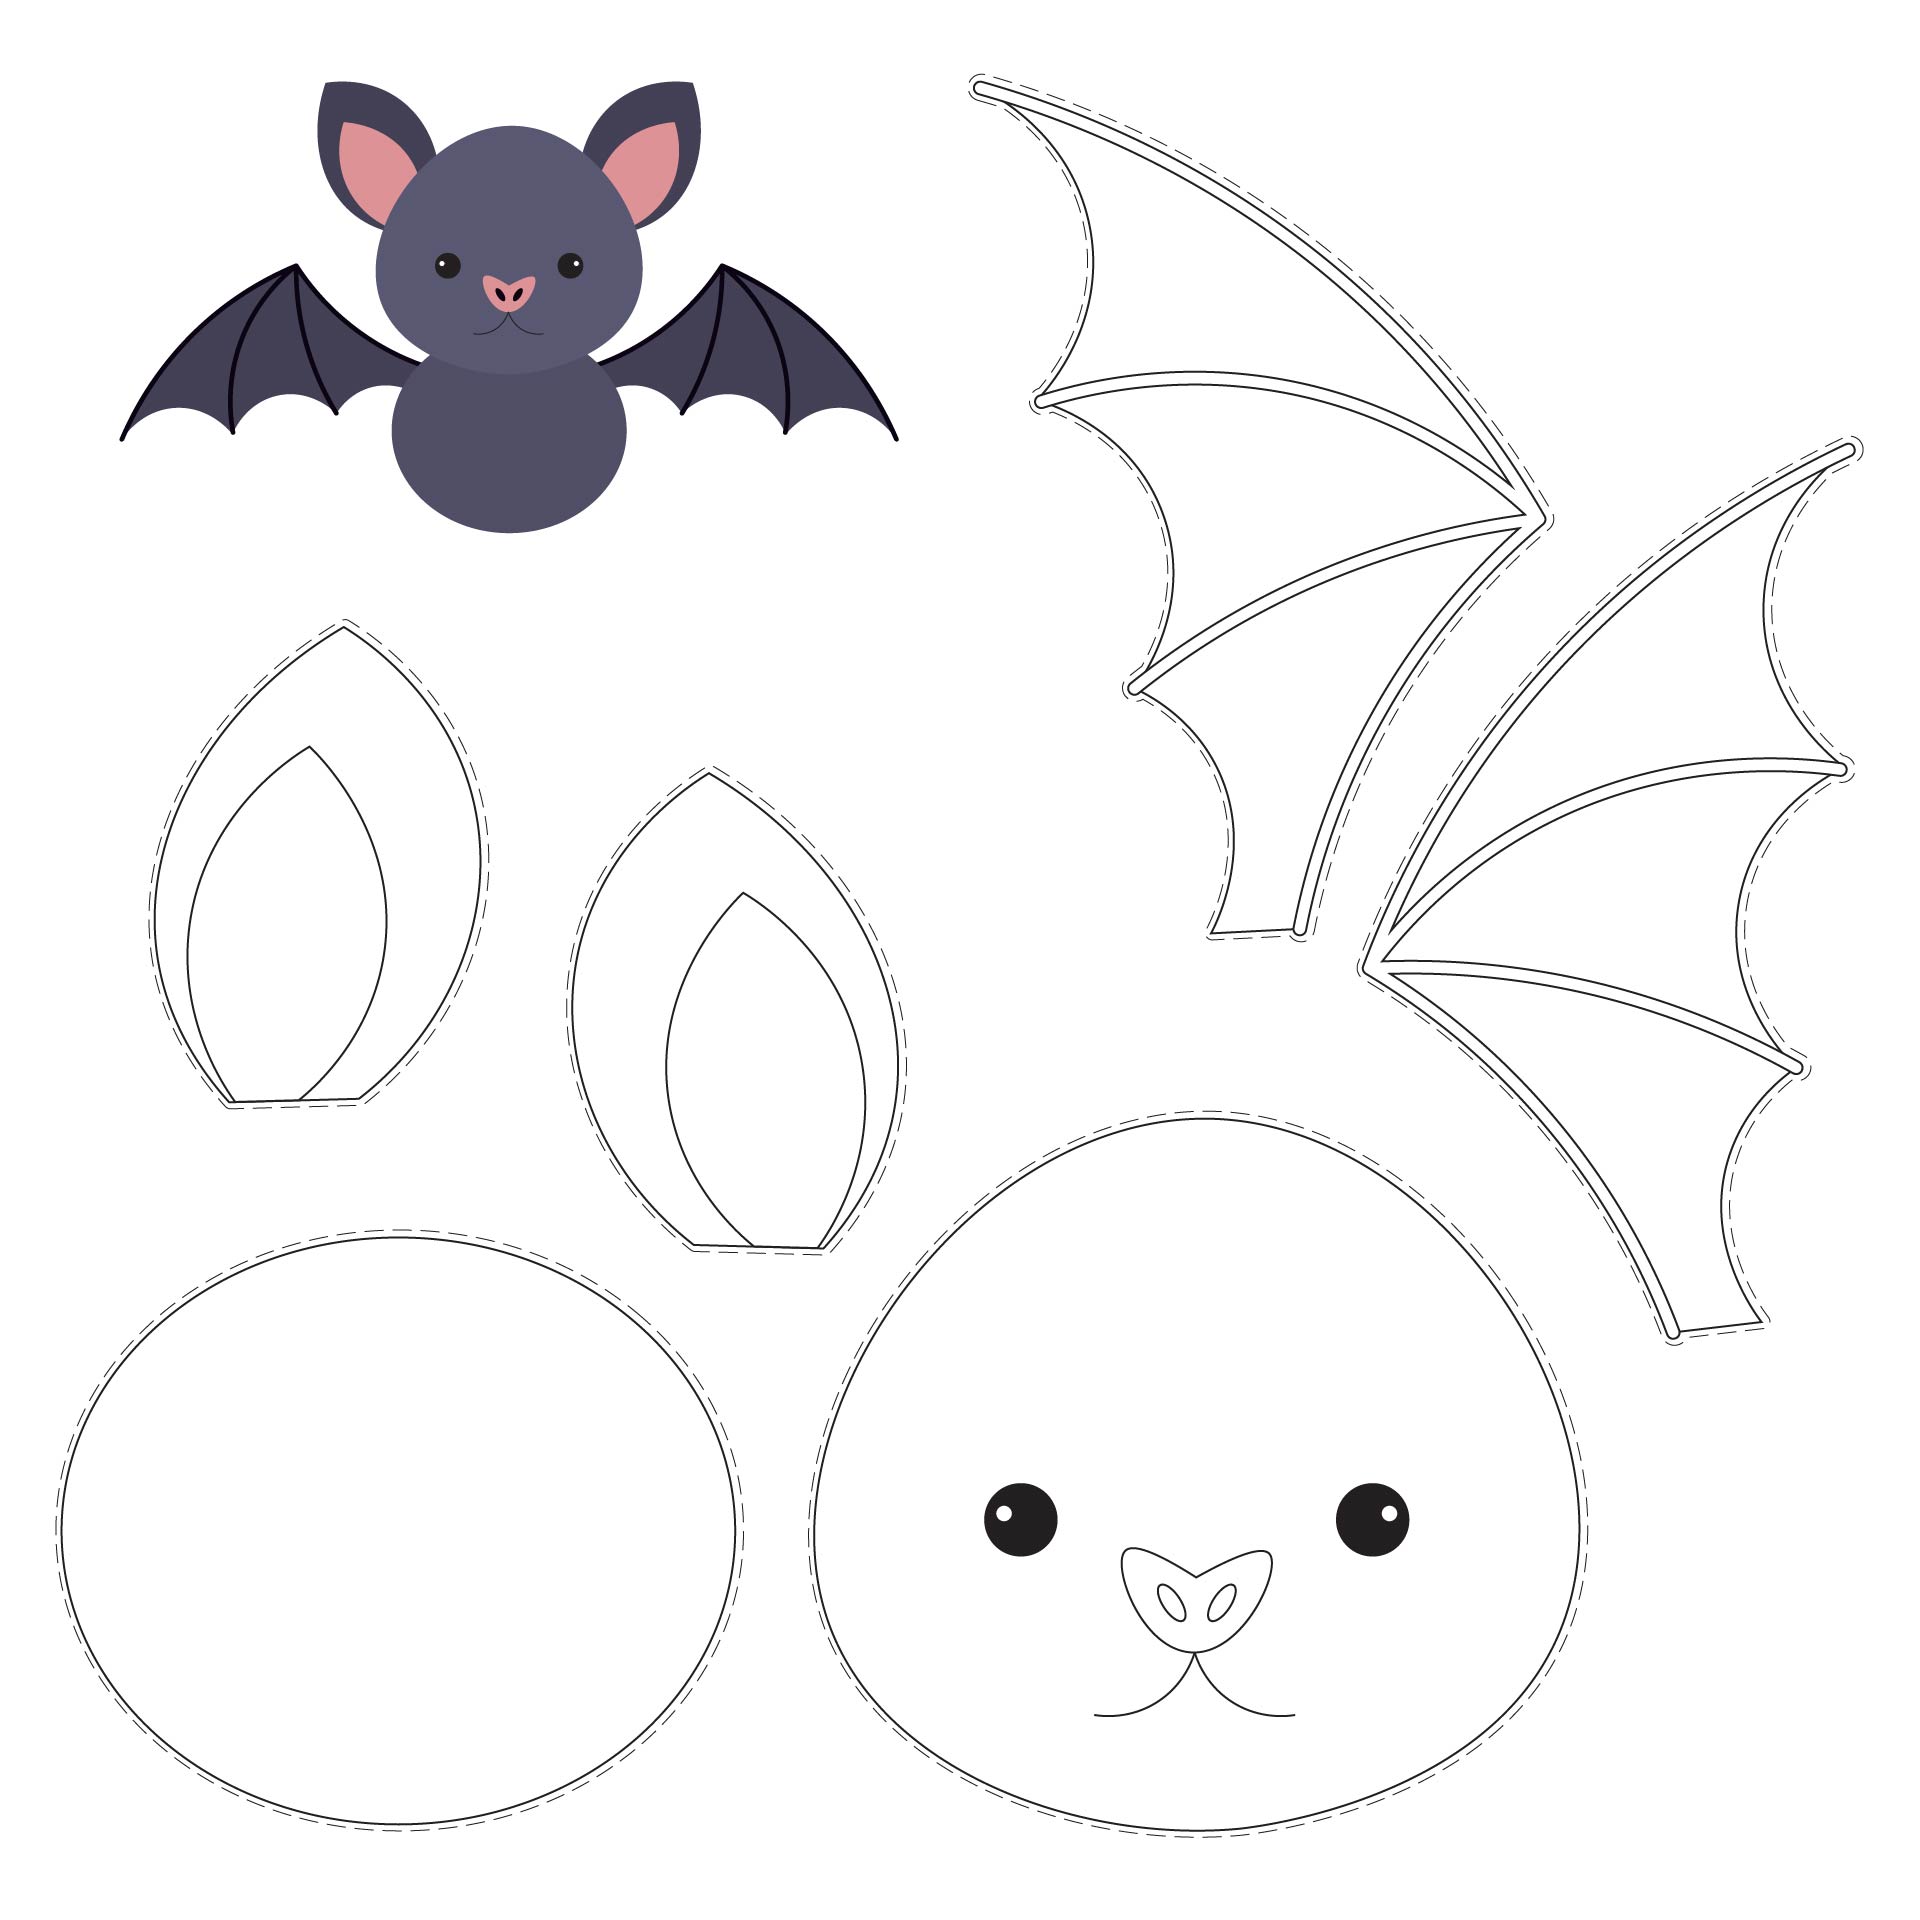
Here’s some fun facts to share with your kids about bats from the u.s. Select colored craft papers for the bat papercraft puppets. Below you’ll find 6 different bat templates in all different sizes that you can use as a. How to make an easy paper bat for halloween. Instructions for the bat stick puppets bat craft step one: Download, print, and cut out the bat template available at the end of this post. Stick the mouth right under the eyes. Attach the paper bats to small branches and place in a vase for easy decor. With smaller details to work around, this bat template is. You mostly need black construction paper, googly eyes, a pair of scissors, a pencil.
Let your child cut out each piece of the. Download and print out the bat templates you like on 8.5″x11″ printer paper. Halloween hanging craft download link (at bottom of the post) paper scissors glue ruler something to help score lines. Next, fold up 2 inches of the paper from one of the open ends. Then, provide the template, scissors and glue to your child. Print out the free printable bat stick puppet templates available toward the end of this post. After the paint dries, glue the eyes on the paper plate. Draw a crescent moon and cut it out using a pencil, lightly draw a crescent moon shape on to the paper plate. Print the large bat template printable large bat printable template this large bat stencil has a bit more of a creepy vibe. After cutting, glue them to a string with some tape and hang them on the wall or from the.
Check out our printable bat craft selection for the very best in unique or custom, handmade pieces from our prints shops. The first bat “craftivity” (see what i did there?) in this list of bat crafts is this simple paper bat. Our printable bat outlines are great for halloween window displays, craft projects, applique templates, and more! Cut out a handful of the smaller printable bat templates, and grab some small branches or twigs. Looking for a bat outline for your next craft project or activity? Start by printing the template below. Like a butter knife, a paper clip, or a. Then we’ve got you covered! Trace the template patterns on the selected colored craft papers and cut them out nicely using a pair of scissors. Fold down the 1 cm part over the top of the other end and glue them together, as shown in the image below.